


How to Build a Custom Wine Cellar: A Comprehensive Guide
 Custom Wine Cellars Las Vegas, with over a decade of experience in the wine storage construction industry, has accumulated a substantial amount of knowledge and skills on how to build effective wine rooms. Our team of experts has worked with various contractors and partners in the wine cellar business. This page is a summary of all the essential elements of creating an ideal custom wine cellar.
Step 1: Where Do You Plan to Have the Wine Cellar Built?
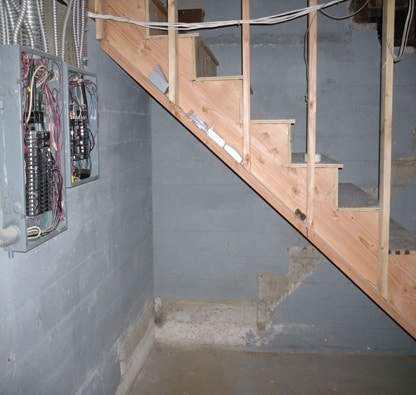
A basement is the most ideal location to build a residential custom wine cellar.
You can choose to have your wine room built anywhere in your house, but the location of your storage structure can have an impact on the costs of maintaining your cellar in the future. Residential cellars should be placed in the coolest and most humid area in your home. Most wine storage experts suggest that the most ideal site is in the basement, below grade. When choosing where to position your custom wine cellar, here are some points to keep in mind:
- There has to be proper ventilation in the area.
- The location should not be directly exposed to sunlight or any heat source.
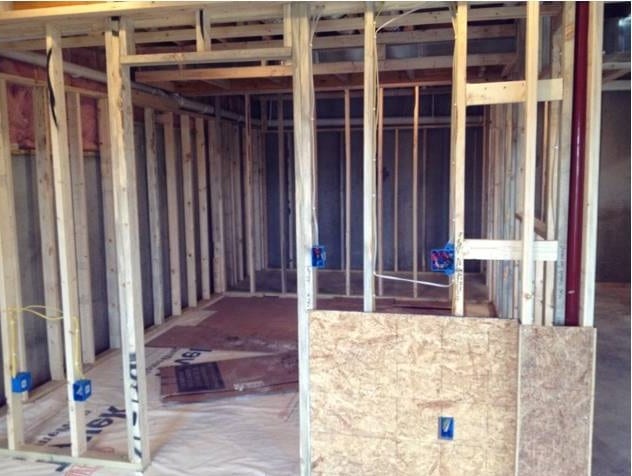
Step 2: Set Up the Wine Cellar Frame.
Most wine cellars can be framed with either a 2×4 or a 2×6 wall. These two options are standard frames for wine rooms. Keep in mind that a thicker wall will also provide better insulation. Basic ceiling joists are sufficient for ceilings. If you have concrete walls, 2×4 wooden studs should be inset at approximately one inch from the walls. This space is necessary to allow insulation to be placed behind the studs. We strongly recommend that you review your local construction building codes to get more information.
Step 3: Install a High Quality Vapor Barrier.
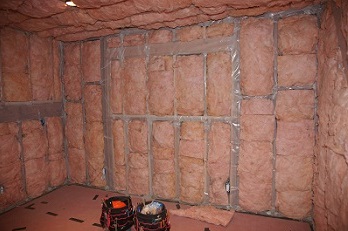
A properly installed vapor barrier is an essential part of building a dependable wine storage room.
An ideal wine storage room has a climate-controlled environment. The temperature and humidity inside the cellar should be kept at the proper levels without frequent fluctuations. The installation of a vapor barrier is an essential element to controlling the humidity inside the structure.
Install a 6mm poly on the warm side of the cellar wall, the ceiling, and the floor. On the interior walls, the application of vapor barrier is performed by wrapping the poly around the studs and installing it to the surface behind the insulation. There should be a continuous application between and around all of the studs and ceiling joists to ensure a complete vapor barrier.
Step 4: Apply Adequate Insulation.
The cellar walls and ceiling must be properly insulated. There are three common choices of insulation, and these are fiberglass, rigid foam, and spray foam. Our wine storage specialists highly recommend a minimum insulation rating of R-22 for both interior and exterior walls. Keep in mind that the thicker the insulation, the better the cooling inside the room. For the ceiling, our experts advise the application of at least R-32 insulation. The value can go higher if the ceiling is directly exposed to sunlight.
Step 5: Choose Your Flooring Material
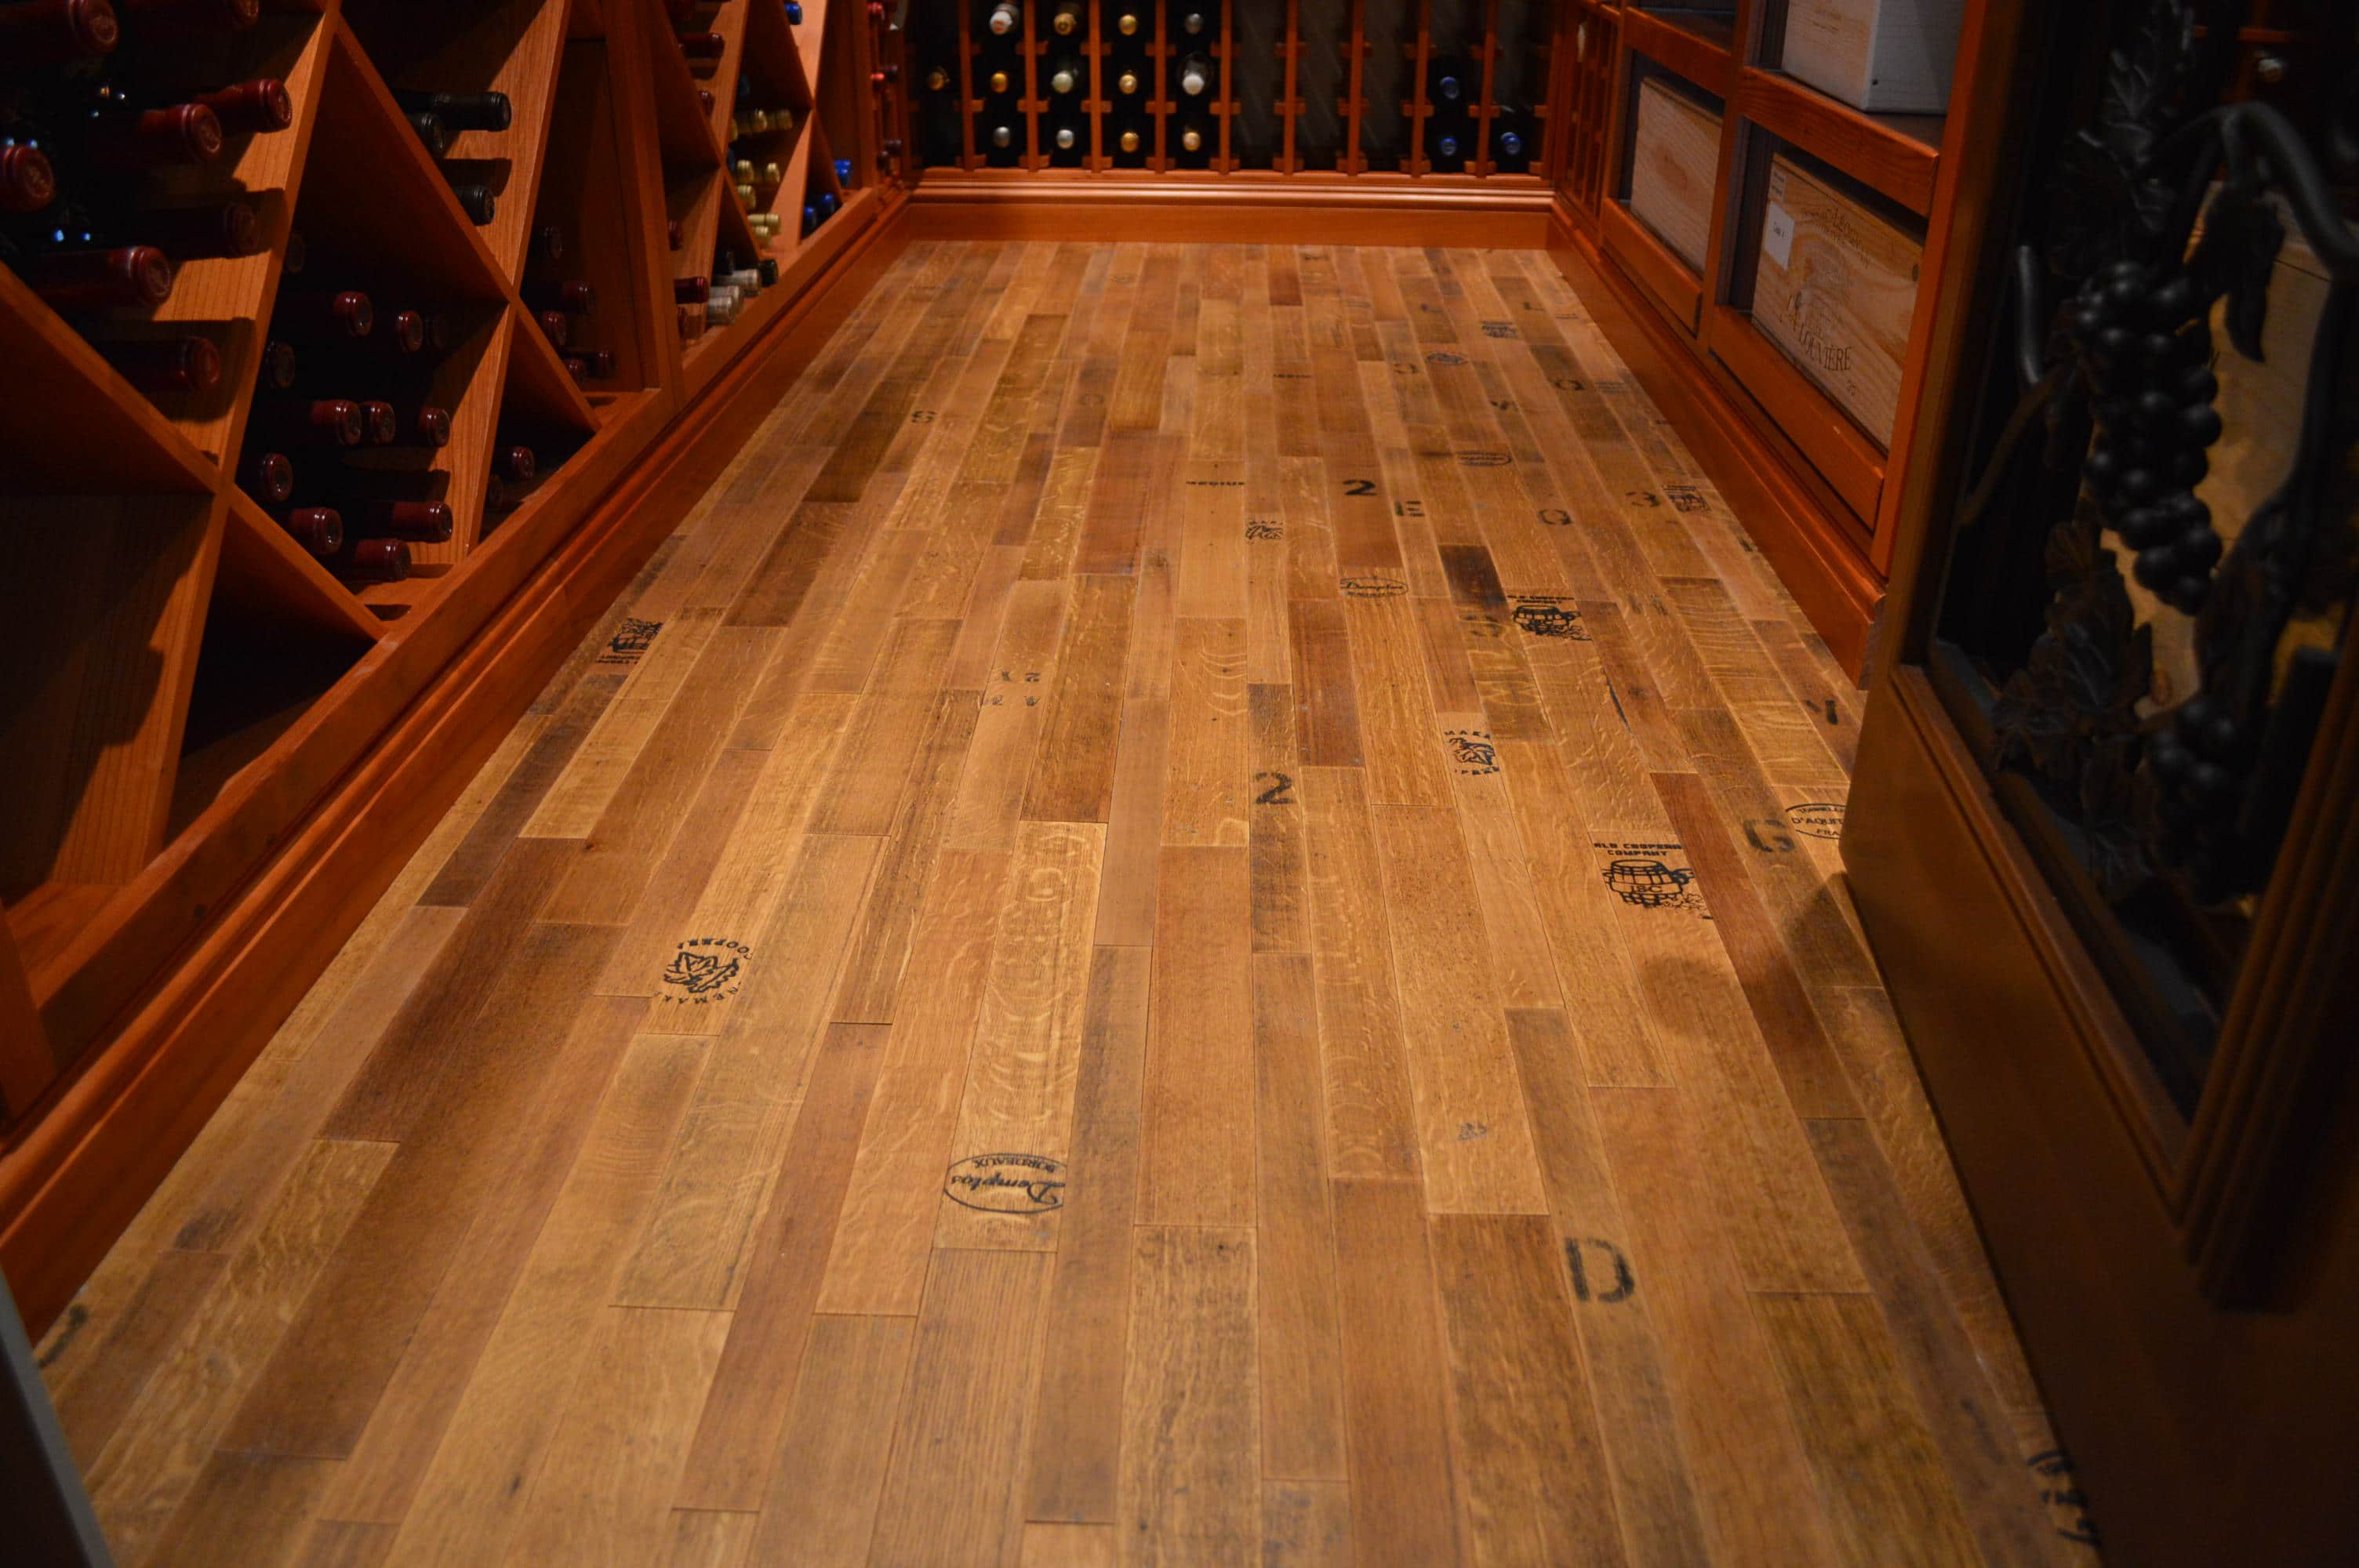
There are many options for wine cellar flooring, and these include reclaimed wine barrels, cork, and reused nautical timbers.
Never use carpet in your wine cellar because the humid conditions inside the storage room promote the growth of mold and mildew. There are numerous kinds of materials used for wine room floors. Choose a flooring material that will match the overall style of your wine cellar.
Step 6: Install a High Grade Wine Cellar Door
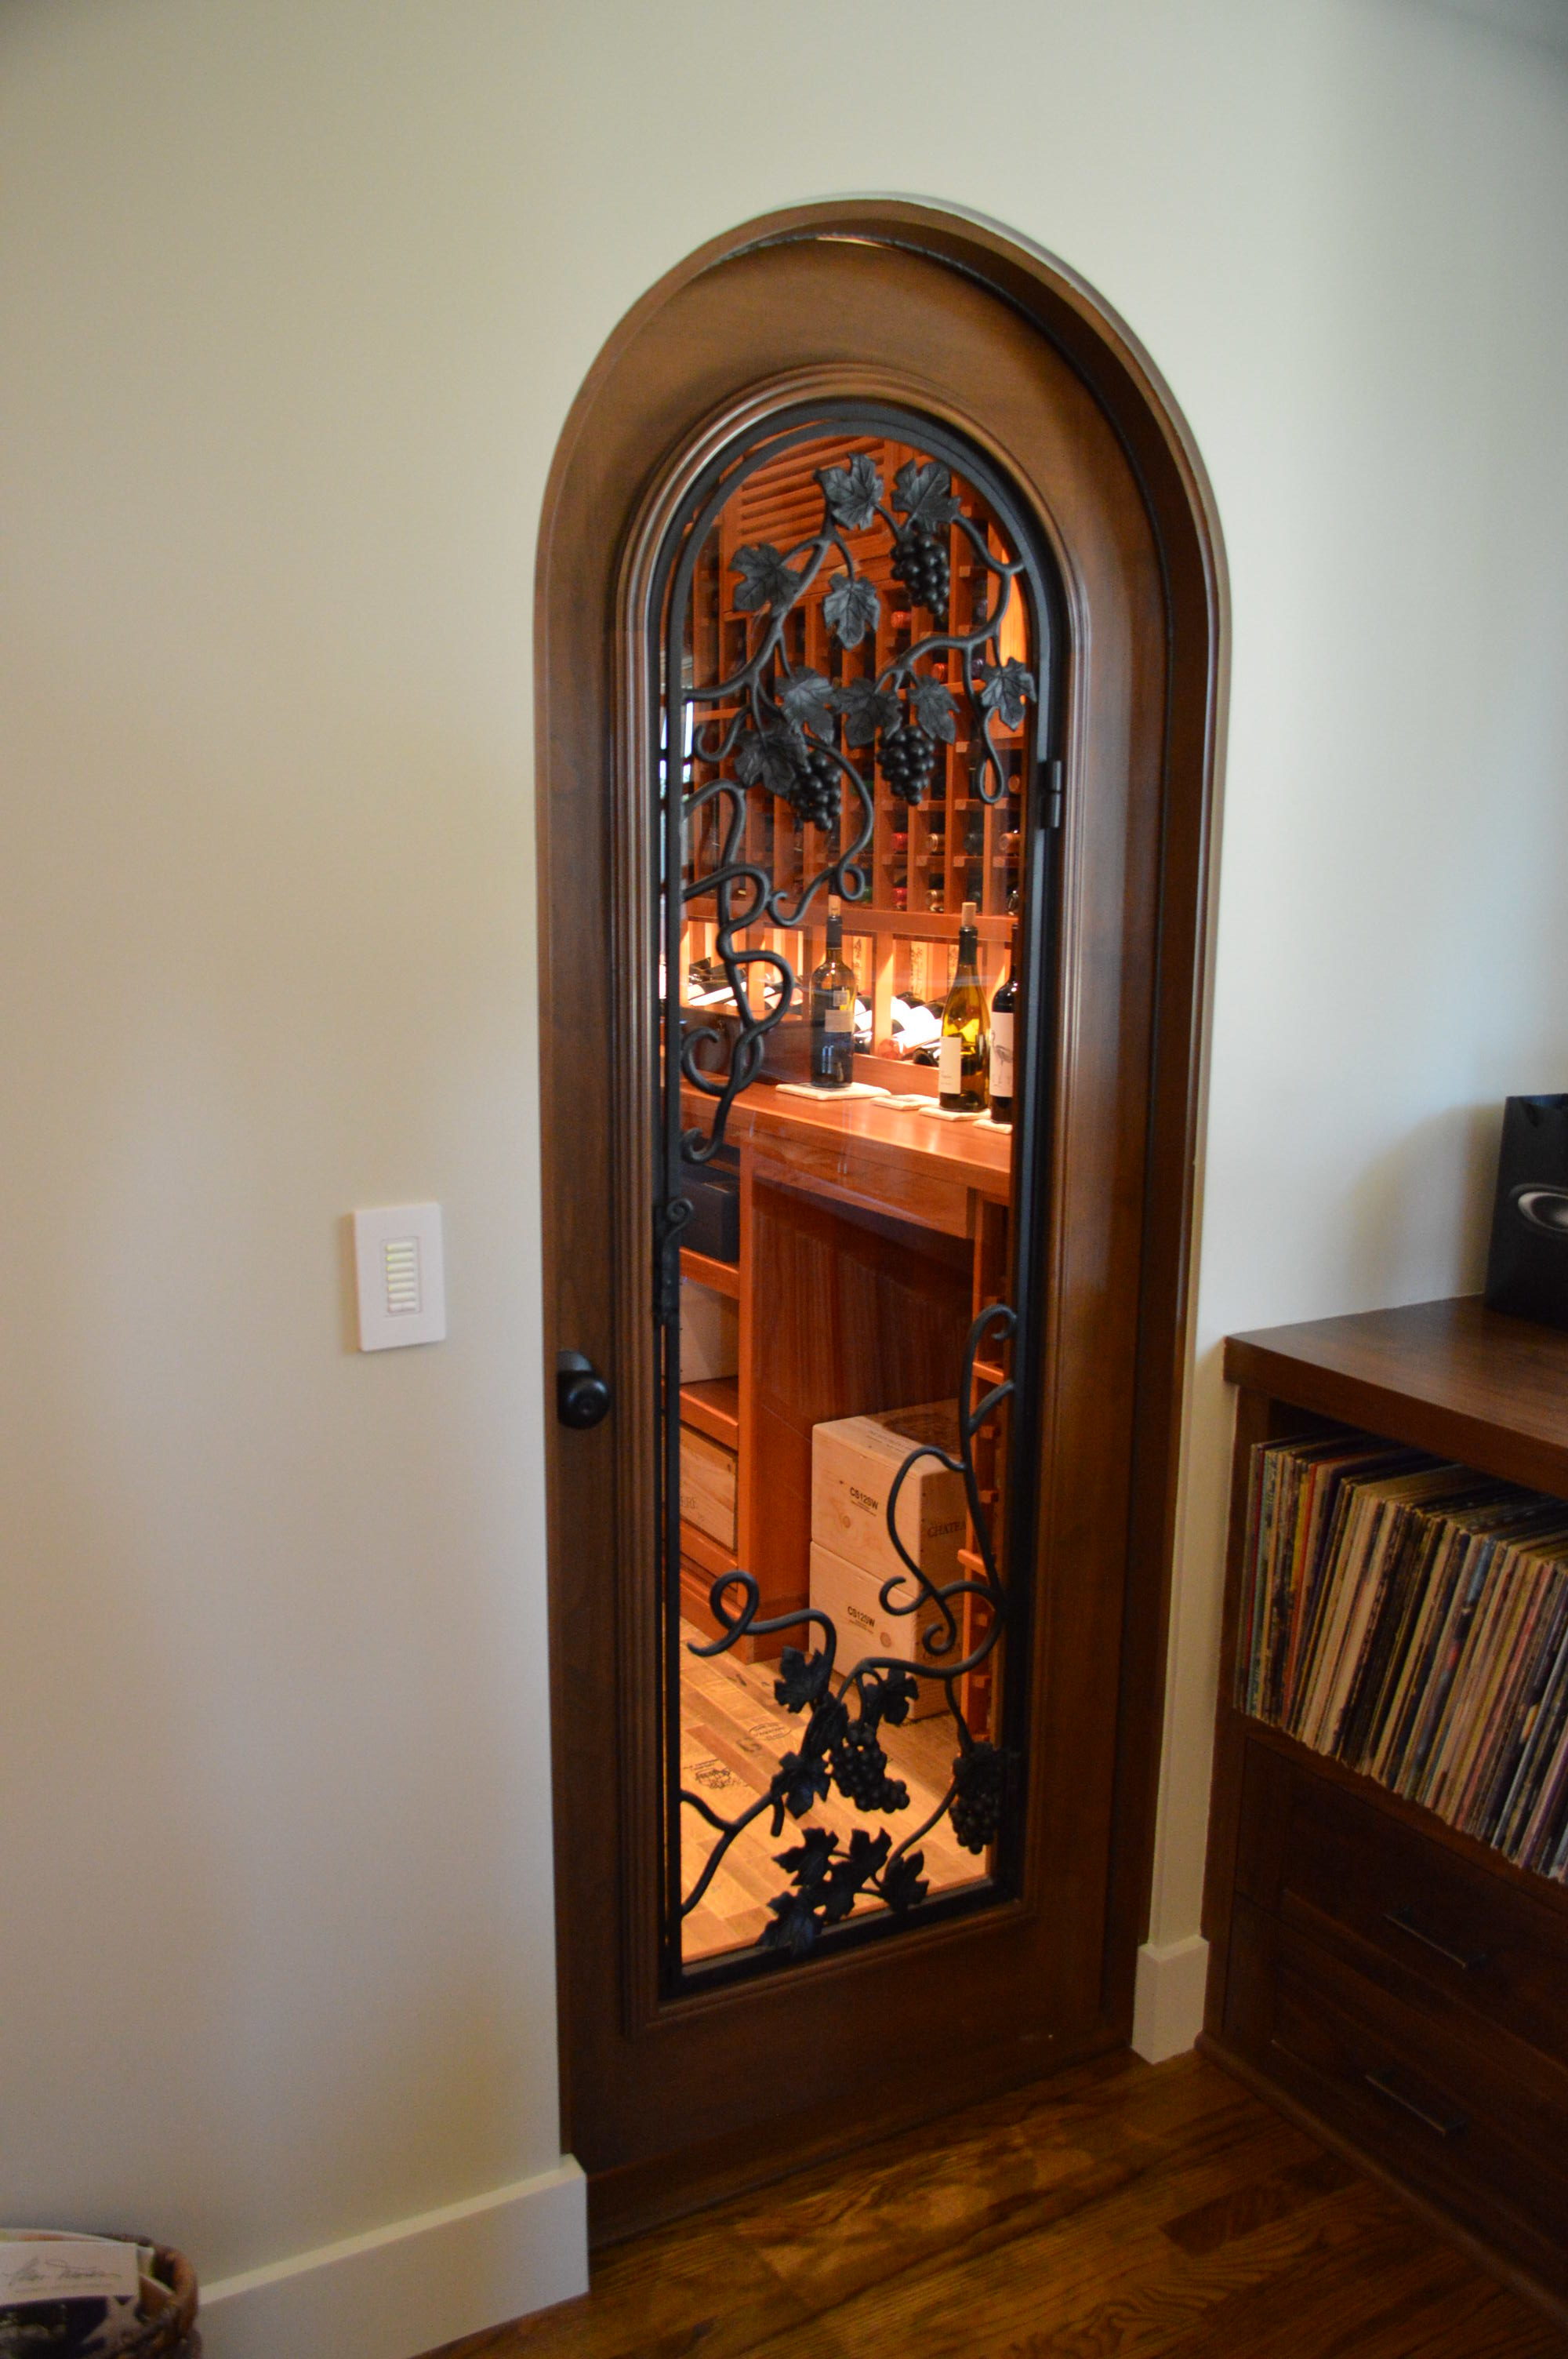 To maintain the temperature and humidity at the correct levels, a wine storage structure must be kept airtight. Having a cellar door installed will help keep the wine room tightly sealed. There are various kinds of wine cellar entryways. A few of the most popular types include solid wood, glass, wrought iron, and steel. Regardless the style you want for your door, our experts recommend an exterior grade entryway complete with weather stripping on all of its sides. To ensure a tight seal, we suggest the use of a sweep or threshold.
Step 7: Determine the Most Suitable Refrigeration System for Your Wine Room
Each wine storage space is different. Some wine rooms are built in a location that has a colder climate. There are structures that are designed to store hundreds of bottles, while others can only stock a twelve-row display. Some cellars are built large but store only a few wines, while others are small but fully stocked. These differences mean that each wine cellar varies in storage requirements as well. Consequently, each wine room should be installed with a different cooling system that can meet their individual needs.

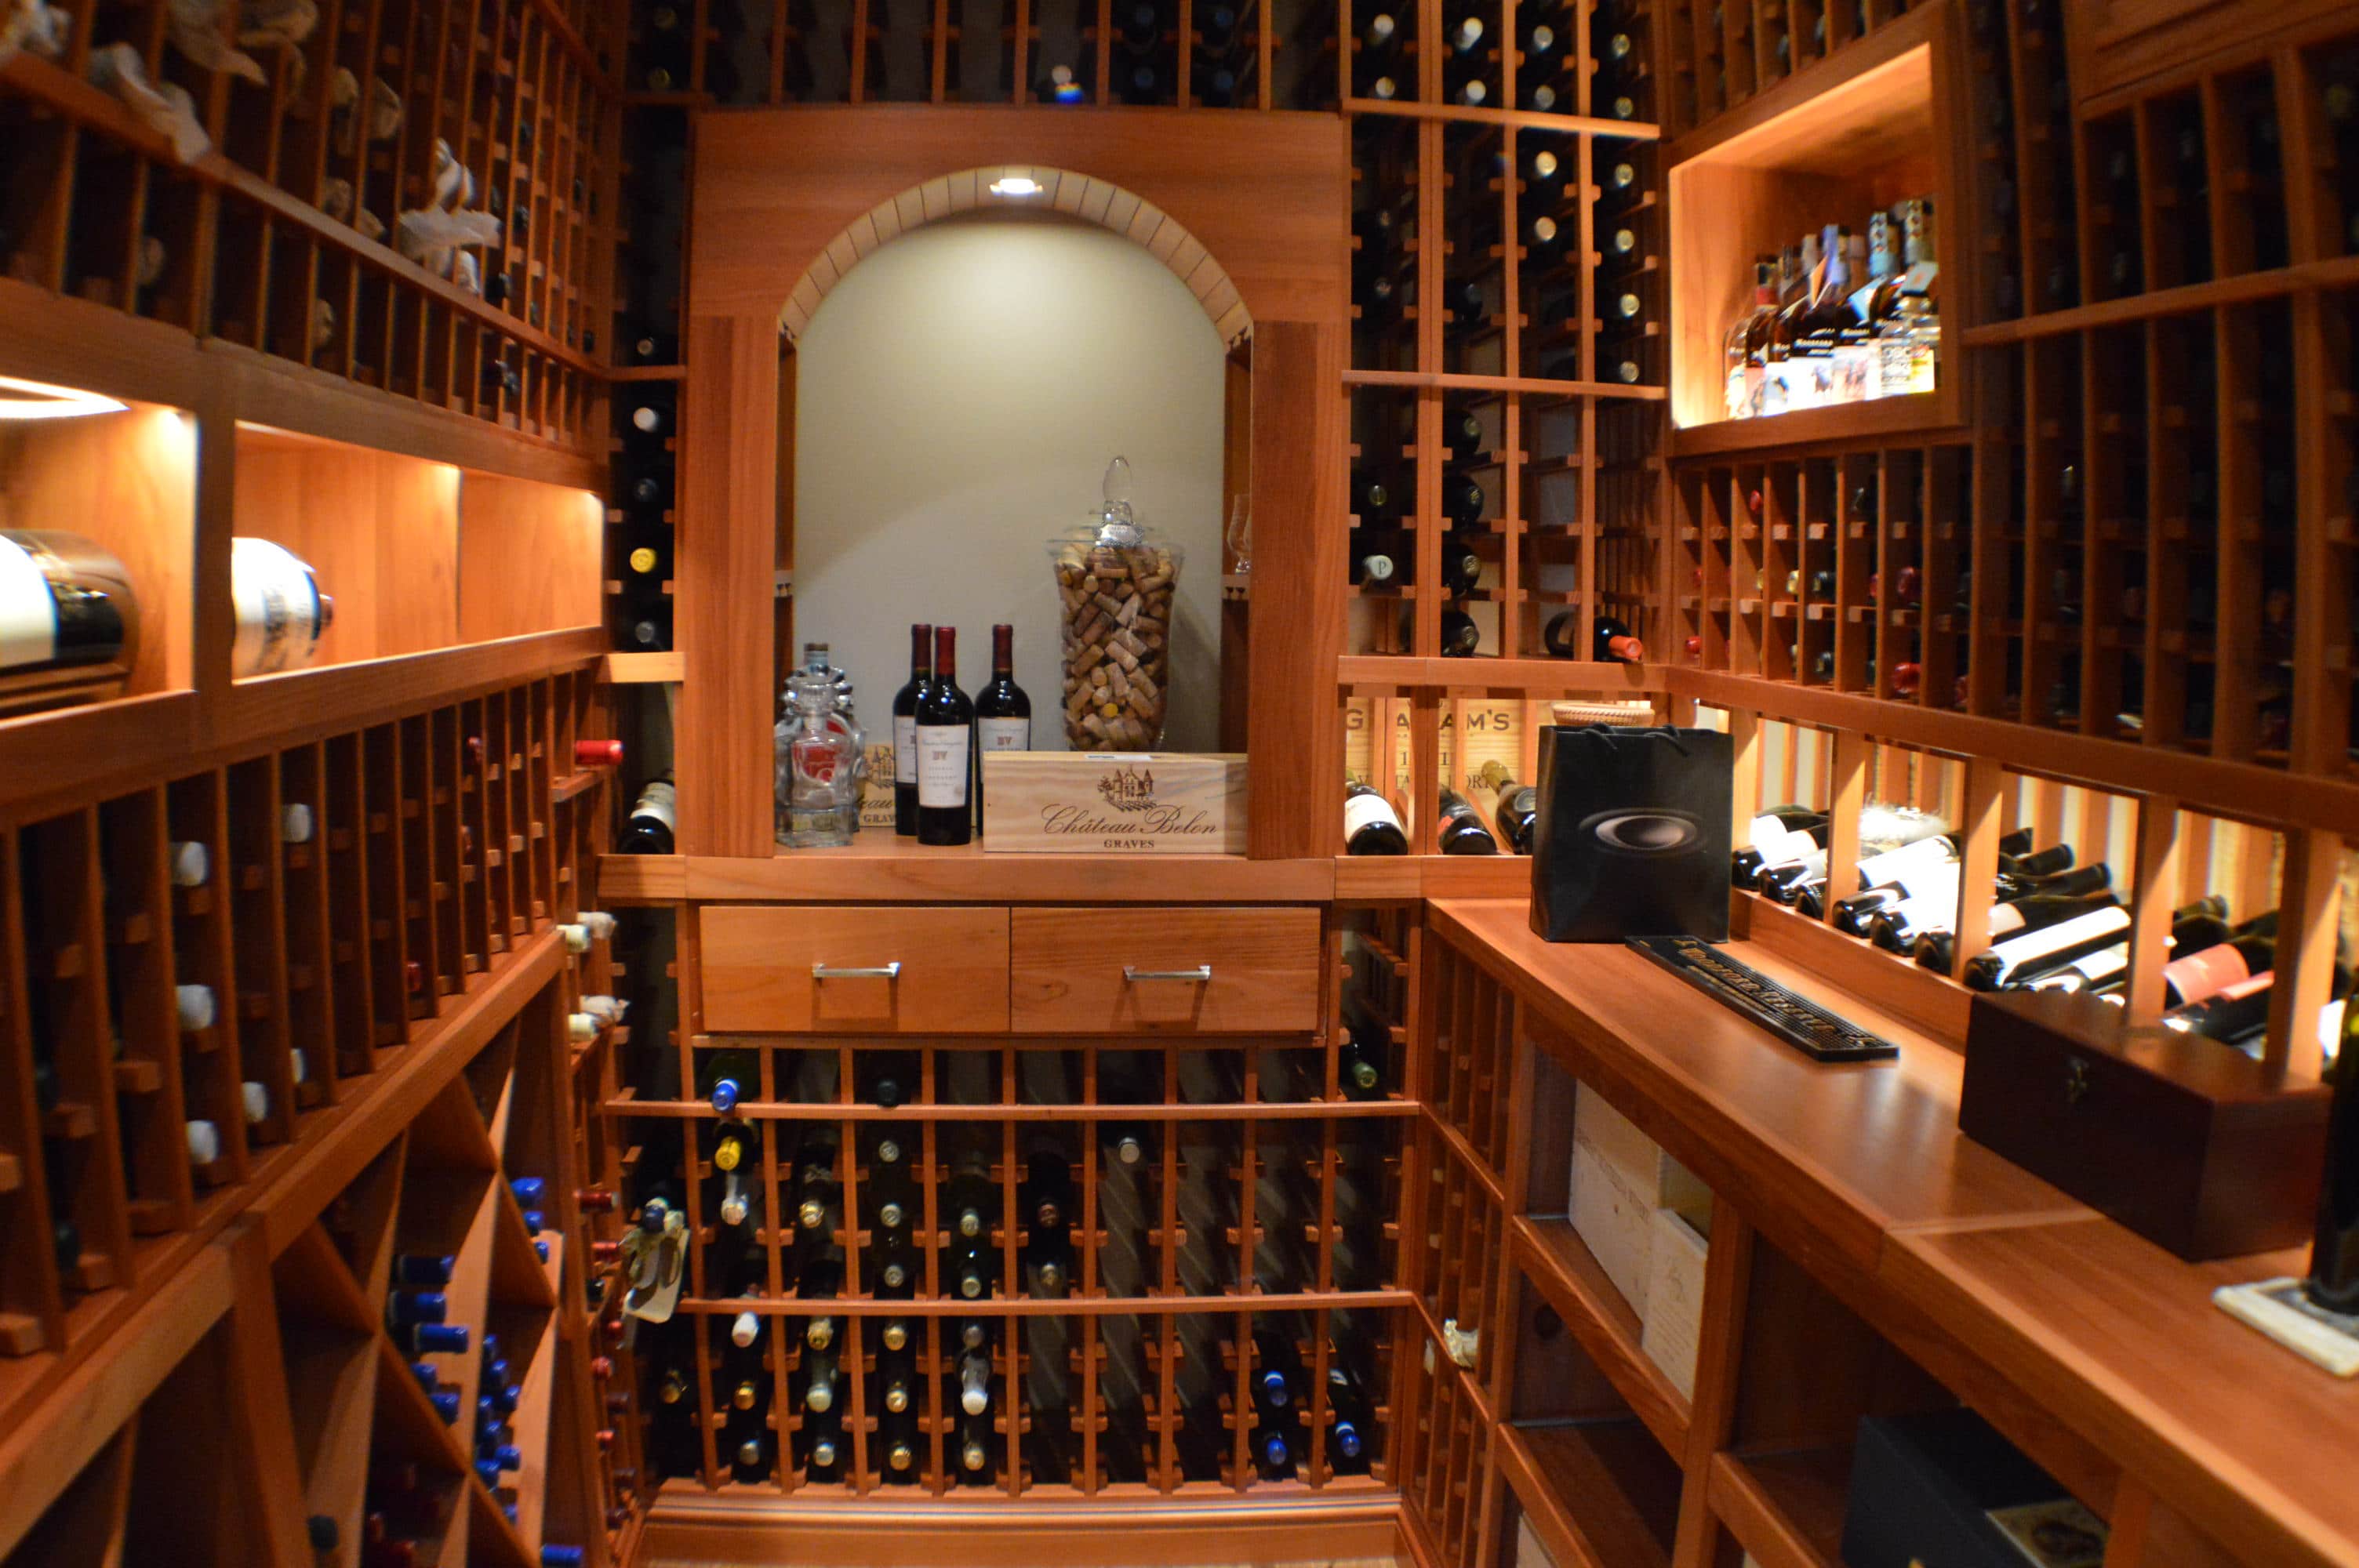
The refrigeration in this wine cellar is concealed with a louvered grill.
Only a professional HVAC expert can properly determine the most appropriate refrigeration unit for your custom wine cellar. Have a specialist assess your storage space, so that you can find out what cooling system you should purchase.
The lighting system in your wine cellar can increase its aesthetic value!
Step 8: Hire an HVAC Specialist to Install the Cooling Unit Correctly
The placement and installation of a wine cellar cooling unit does vary from one model to another. Some HVAC systems are easier to setup than others. The best way to ensure the proper installation of your equipment is to hire a refrigeration expert to set it up for you. A poorly installed cooling system can do more harm than good.
Step 9: Configure the Wine Cellar Lighting Setup
The lighting setup in a wine cellar has a huge impact on the aesthetic value of the room. It is important to keep in mind that improper lighting can cause adverse effects on your wine. Do not use lighting systems that produce ultraviolet light and heat, which can alter the temperature and humidity balance in your cellar. Make sure that you only use low voltage or LED lights for your storage space. These kinds of lights produce minimal heat, and they do not emit UV rays.
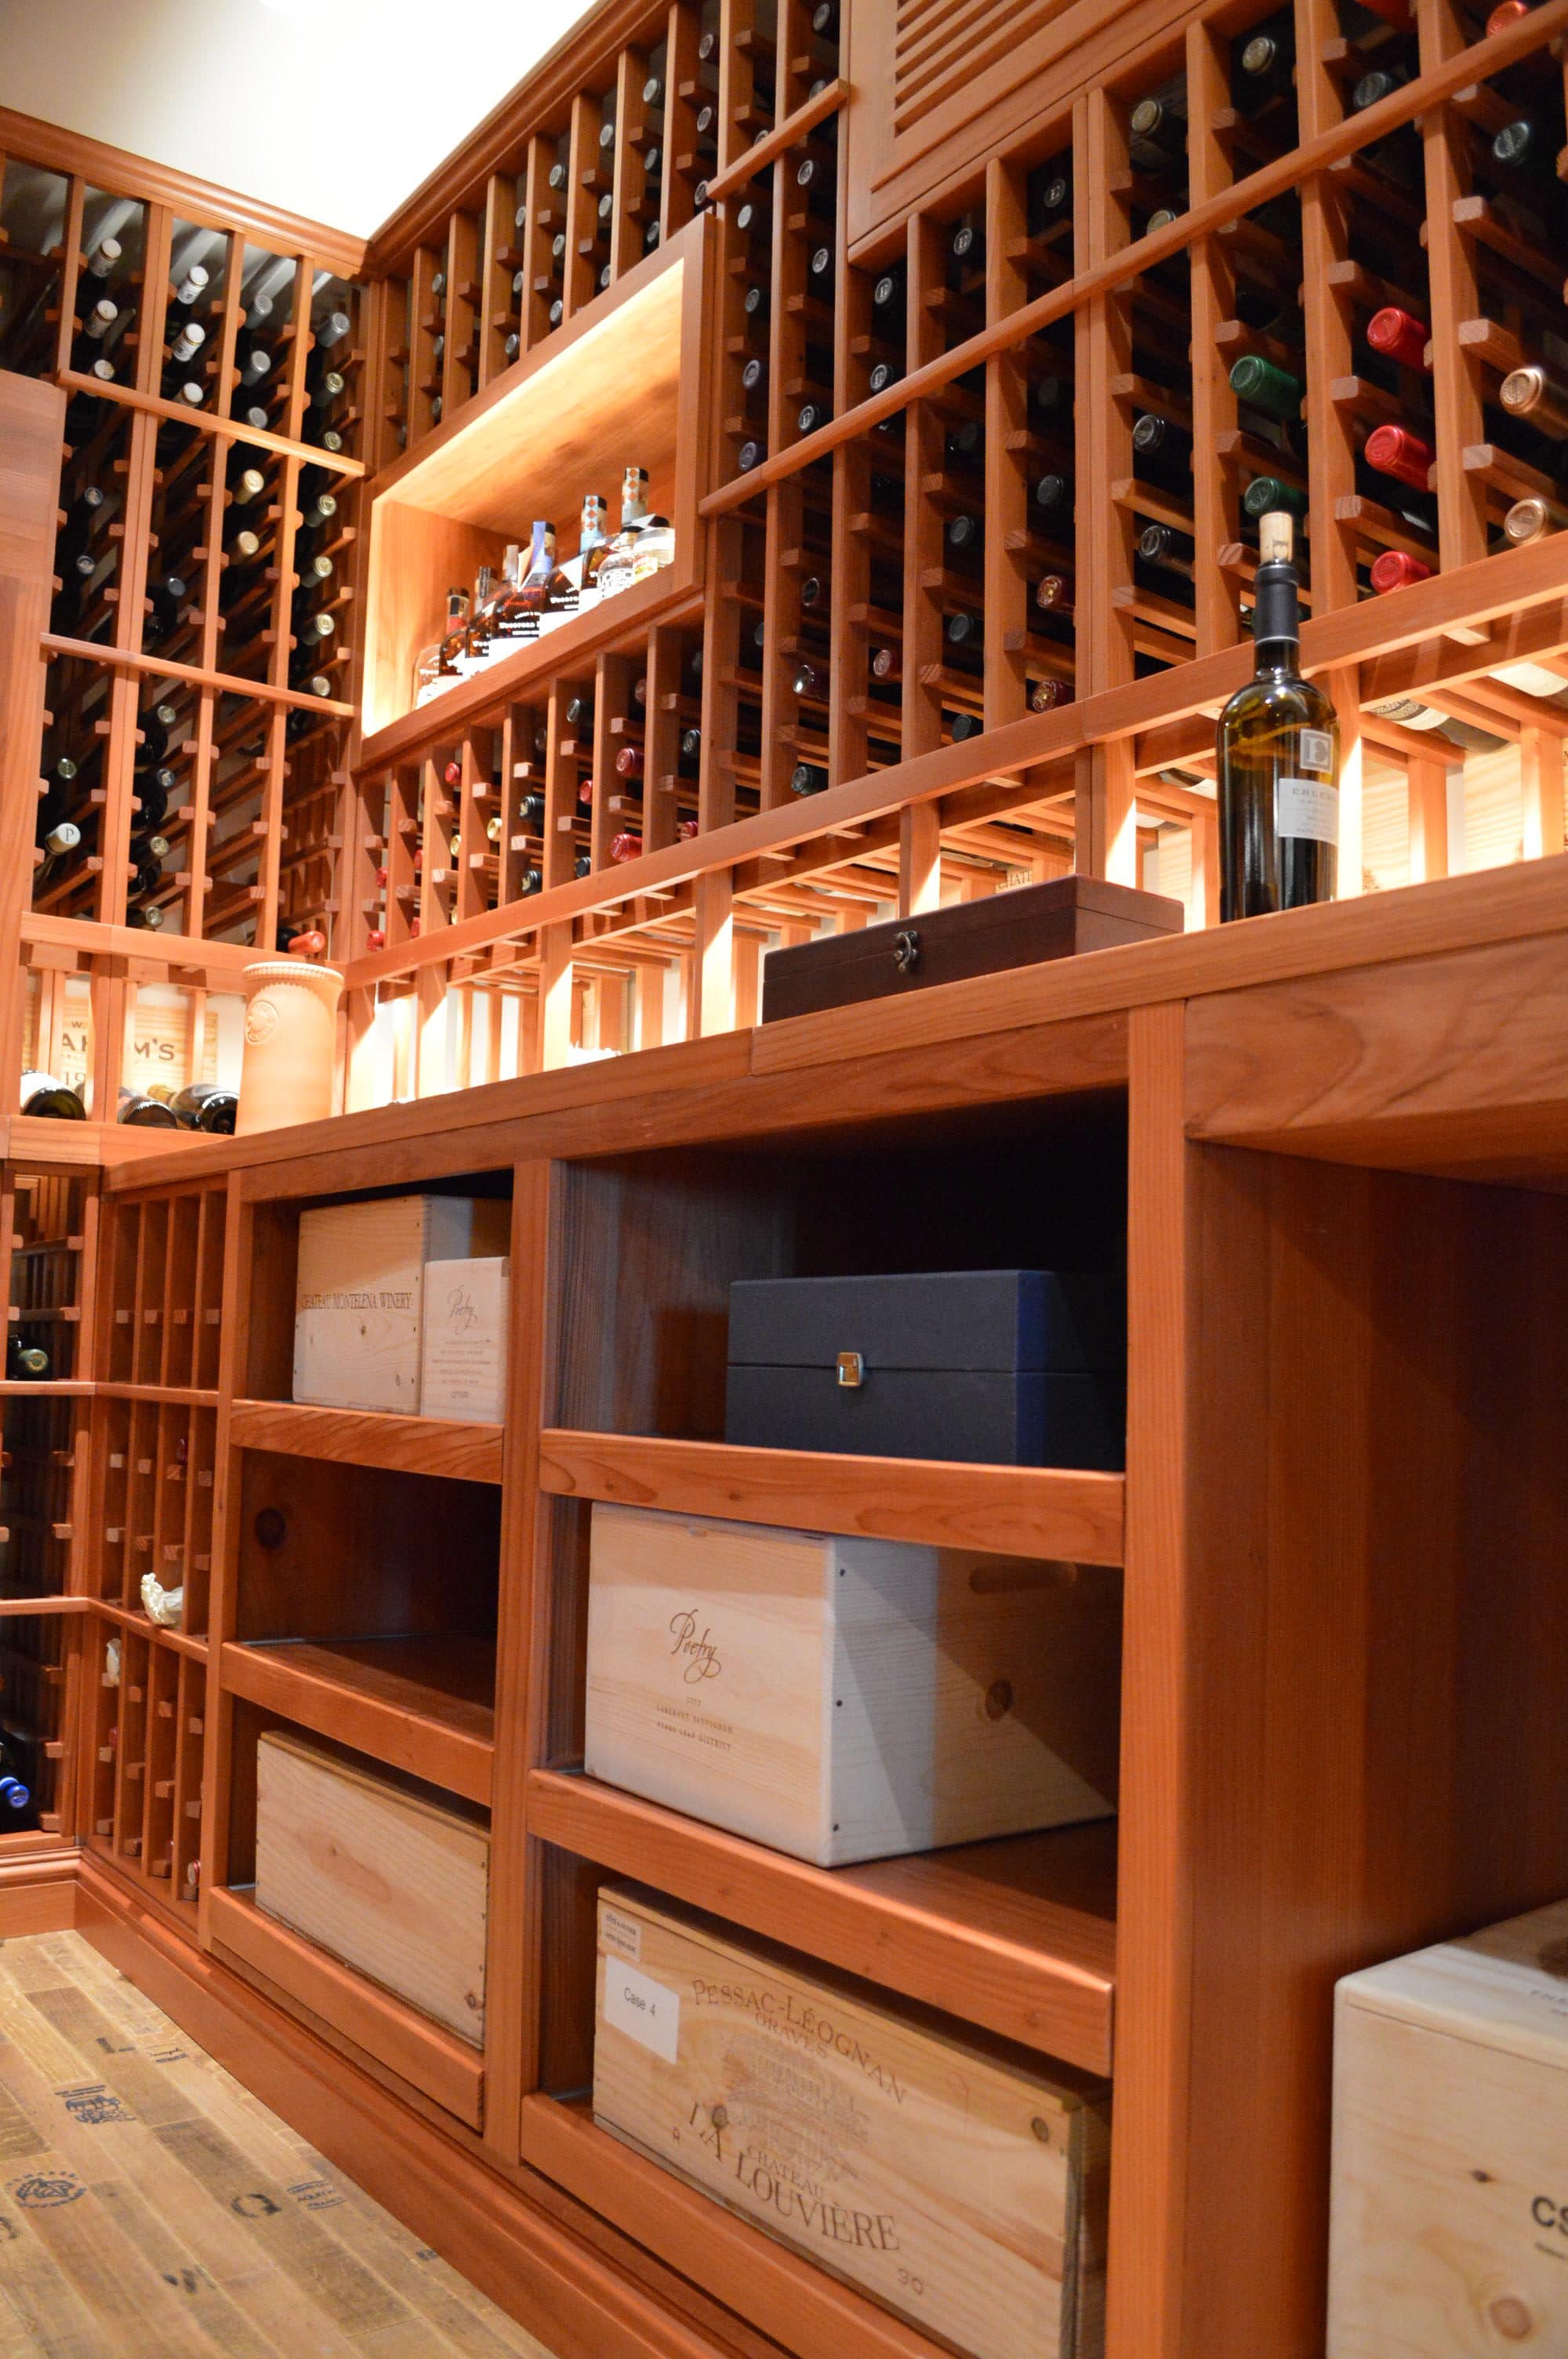
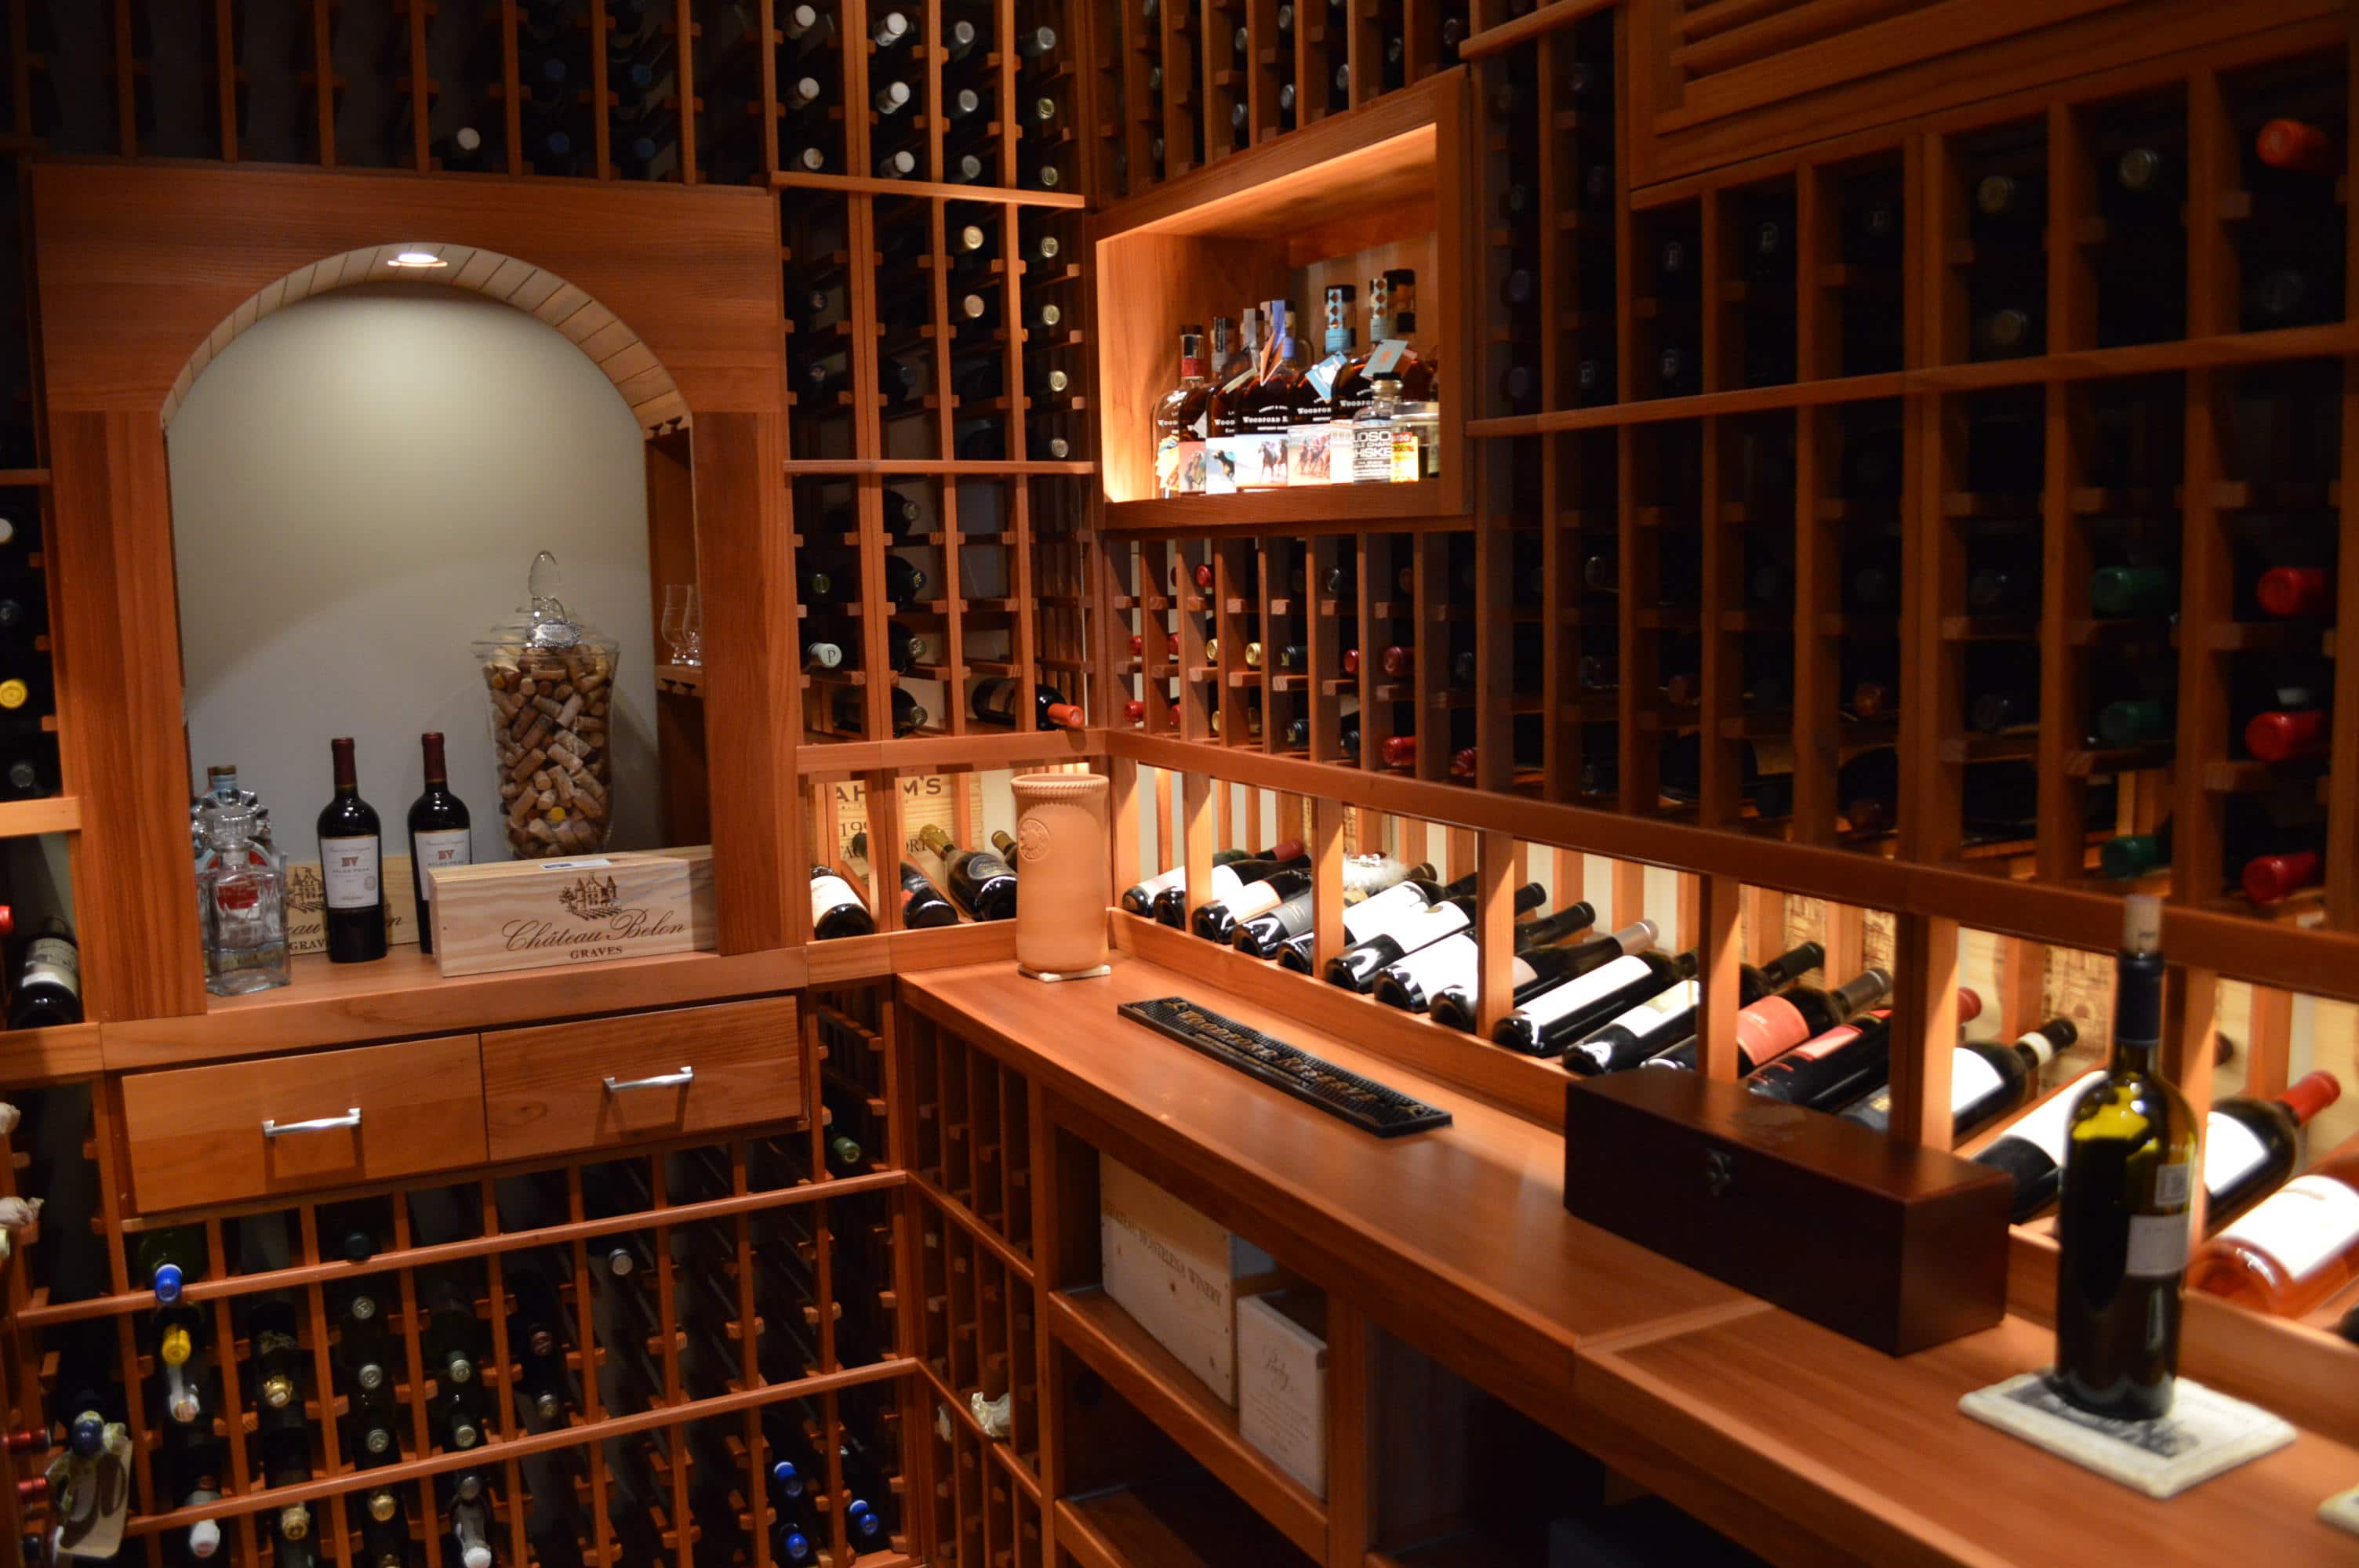
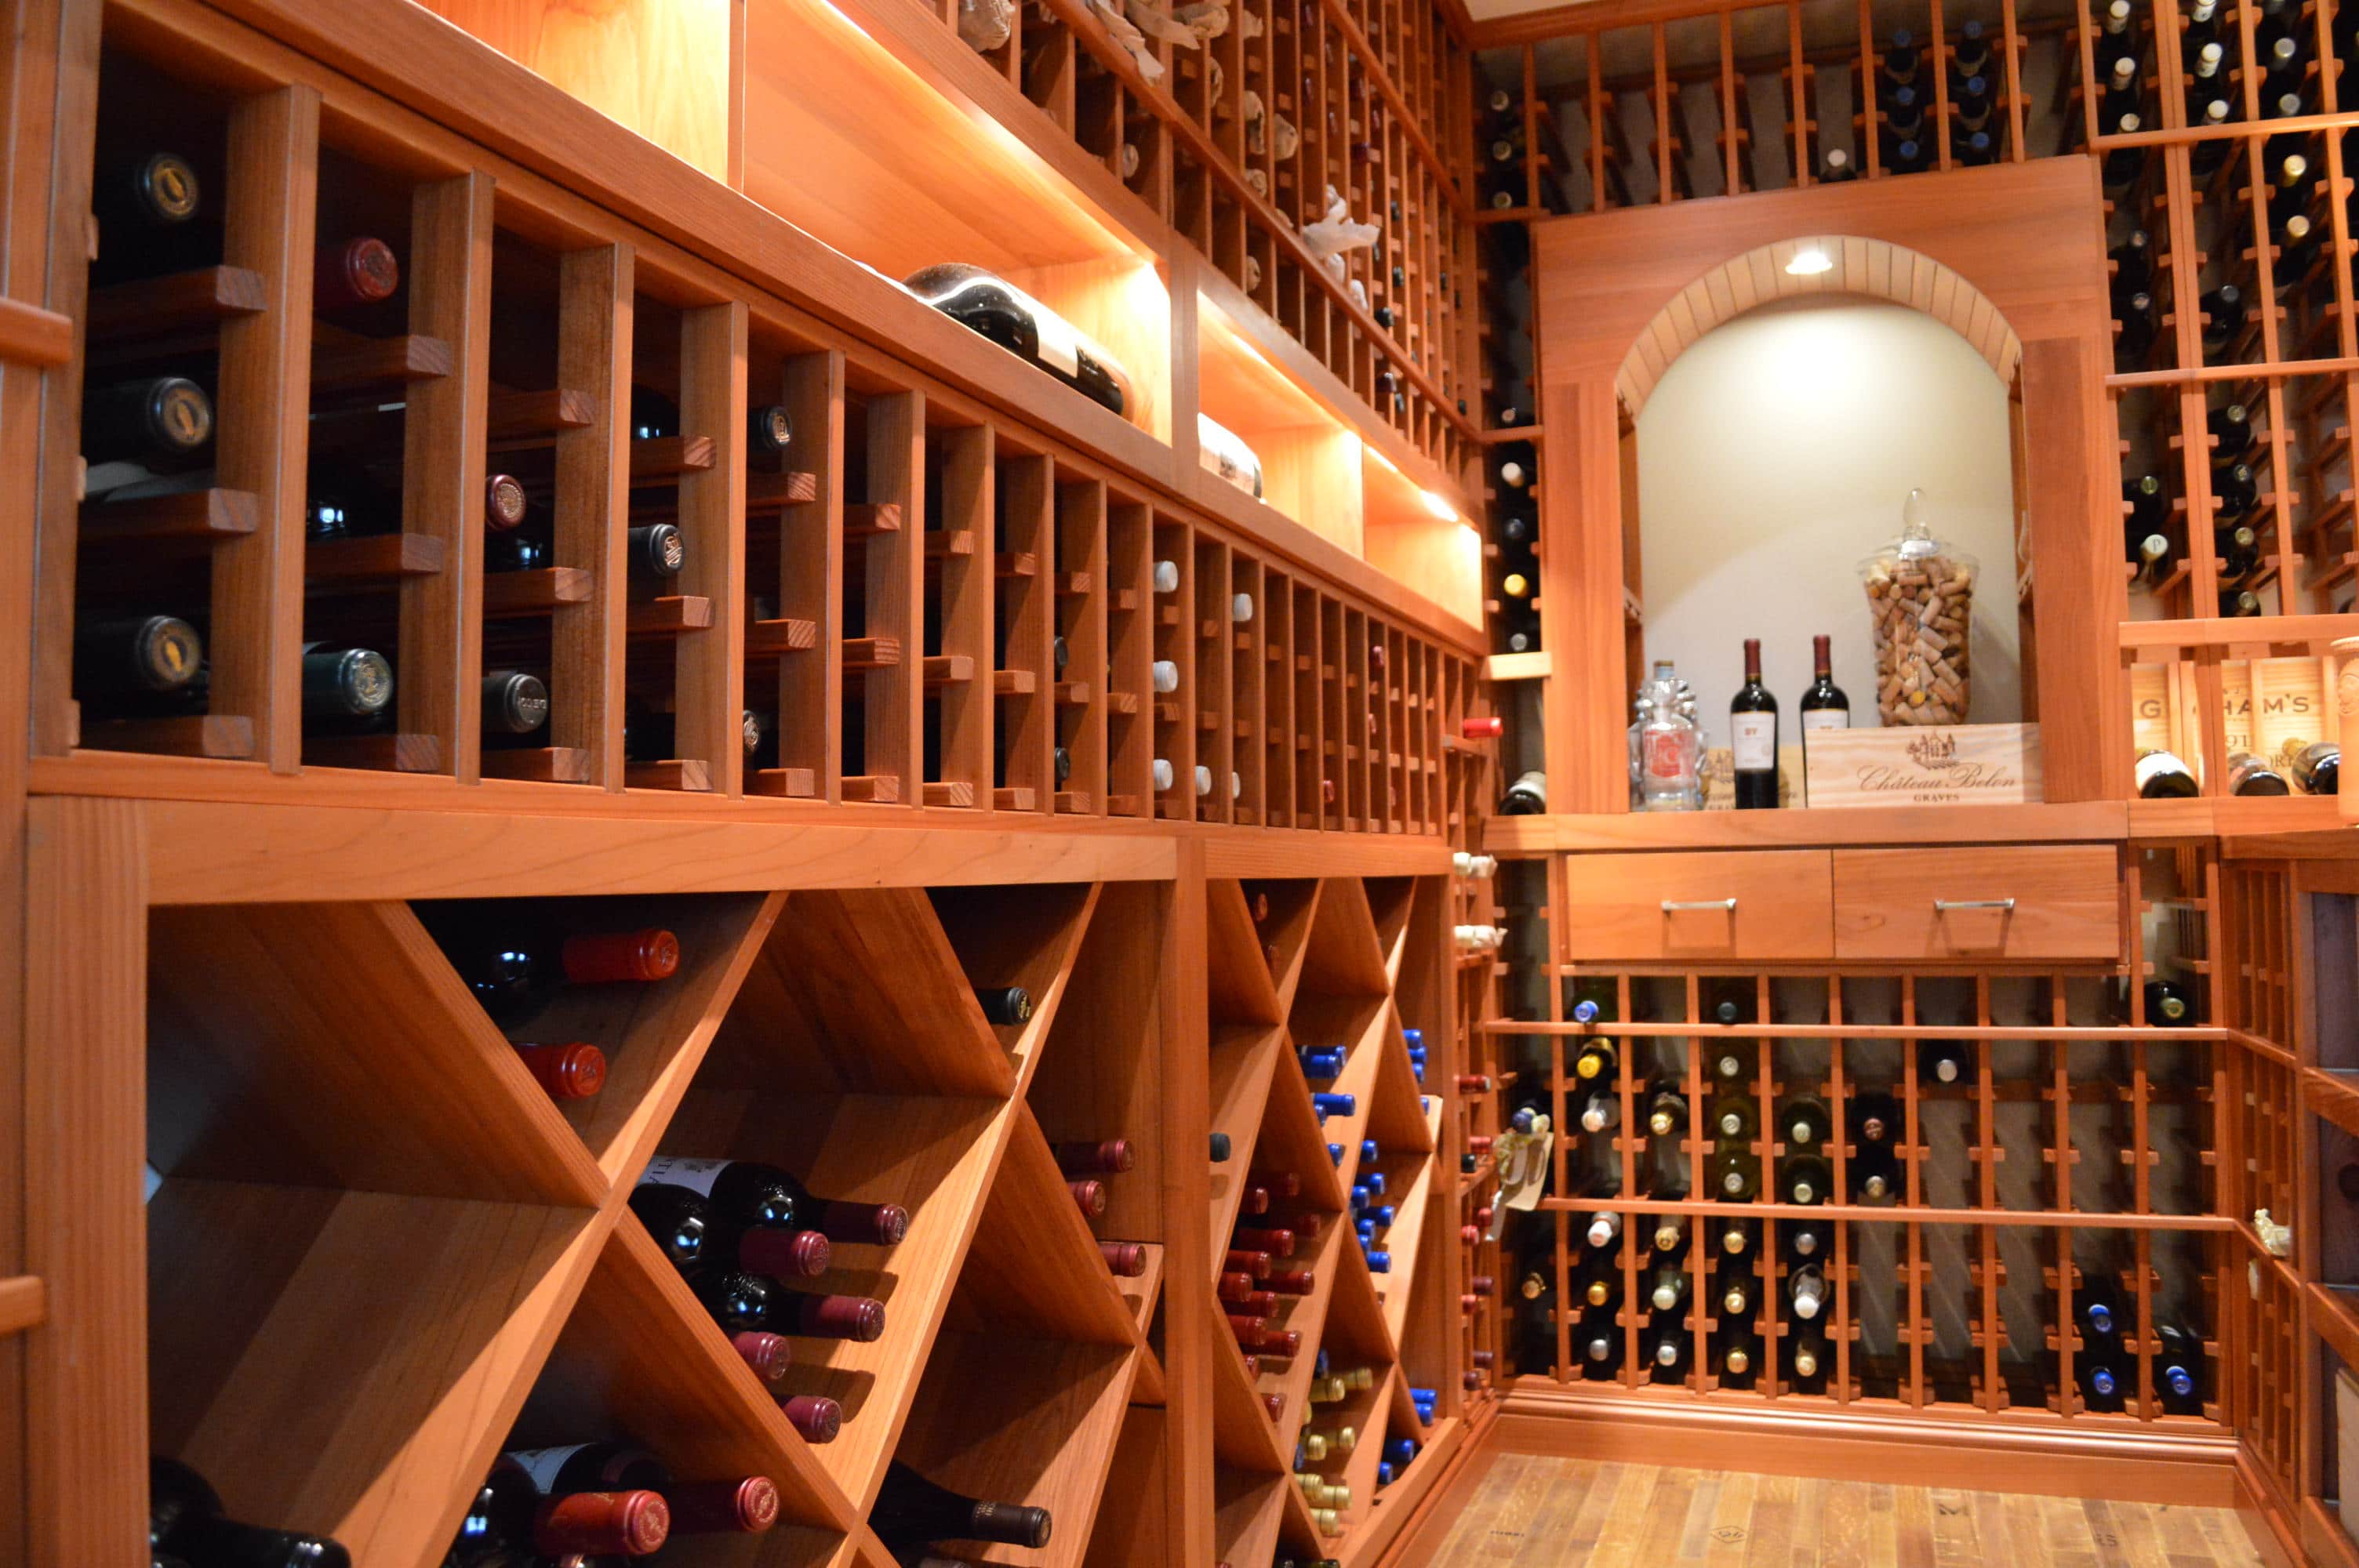 Step 10: Choose What Wine Racks to Install in Your Cellar
There are various kinds of wine racking systems in Nevada. You can choose from a variety of options depending on the material, style, dimensions, etc. Make sure that the racks you select are durable, and that they complement the overall design of your custom wine cellar.